How To Claim Your Bing Profile

Bing is the second most popular search engine, which may come as a surprise to some who believe that Google is the only current “reputable” search engine due to its clout as the preferred mega platform that it is. Bing, however, is a research engine and business review website that should absolutely be on your radar – whether or not you personally use it to search for information on the internet.
Why Claiming Your Bing Profile is Important
We’ve emphasized the importance of claiming all of your profiles throughout this entire series, but Bing is a business platform that often gets overlooked in lieu of more attention being paid to Google. It’s time to start thinking of this situation less like “Google VS Bing” and more like “Google and Bing”
The Steps You’ll Need to Take to Claim Your Bing Profile
Claiming a business on Bing is a simple and straightforward process that takes you through the same similar steps that Google does. In fact, you’ll notice the the majority of these review platforms require the same steps and information to be completed.
Step 1: Find Your Business on Bing
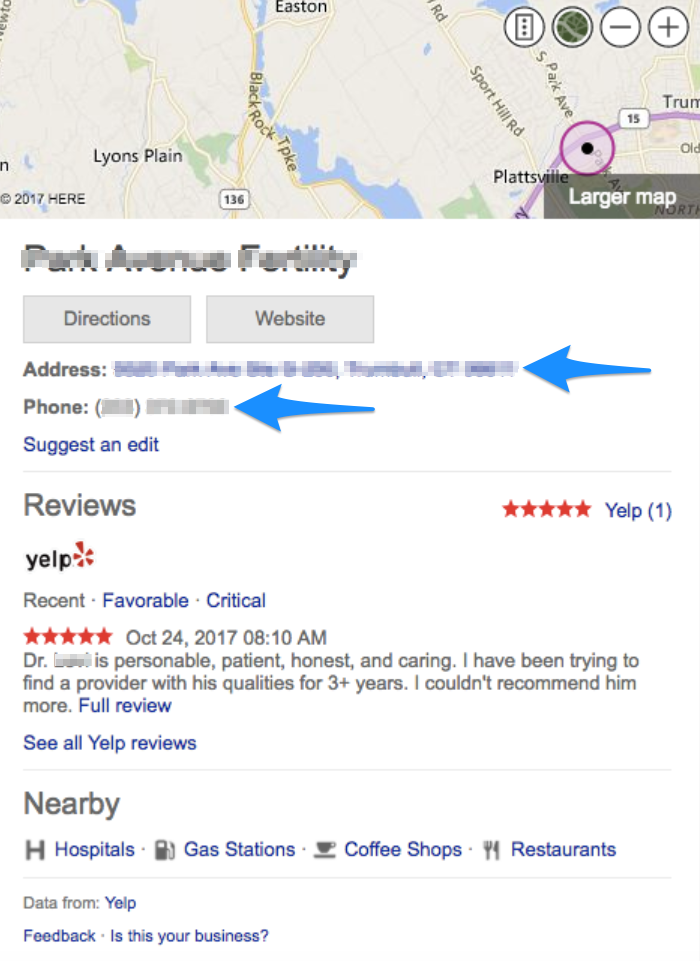
You can do this by conducting a simple search on Bing for your business name, much like you would do with Google, in order to find your profile.
You’ll notice that, unlike other platforms, Bing does not prominently display whether or not a business has been claimed already.
However, you will want to double-check that the phone number and address information are correct in this public-facing display since that information will be crucial in making sure the PIN is sent to the right location.
Step 2: Sign into Bing Places
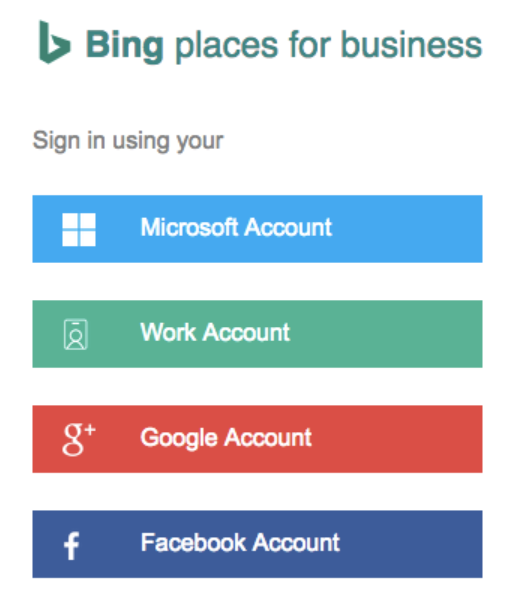
Bing Places is this site’s equivalent to Google My Business. At this stage, you should create or log into your Bing Places account in order to really get into the verification process.
Bing allows you to sign into multiple types of accounts, such as your Microsoft, Work, Google, or Facebook account to gain access to your profile.

Step 3: Begin Your Verification!
Once you have logged in, you will see a screen similar to the one below. This is where you will be able to begin the verification process by phone.
Even though Bing does not prominently display whether or not a profile is claimed on the main search results page, they do a good job of pointing you in the right direction once you have logged in, as you can see by the front-and-center box that prompts user to verify their listing.
Step 4: Choose Your Method of Verification
In this series, you may have noticed a trend: review websites, like Google, Bing, and Yelp, all require you to decide whether or not you’d like to verify your information by phone, text, or snail mail. In many cases, business owners are able to select the “phone” option and receive a call with a code that will finish the entire process.
We wanted to show you a case where you only have one option – physical mail.
Because Bing hasn’t verified the phone number listed within its system, you will have to select the physical mail option and wait for the postcard to arrive at your location. From there, simply follow the written directions to finish claiming your Bing Places profile.
Once everything is completed, you’ll have a ful profile on Bing’s main search results page. We’ve attached a fully claimed profile, from a different business, below for you to see.